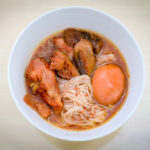
Being Fuzhou (Foochow), it is a tradition to celebrate both the first day of Chinese New Year and our birthdays with a bowl of Fuzhou red wine chicken mee suah (ang zhao mee sua).
This one-dish meal contains sesame oil, lots of ginger, rice wine and rice wine lees. Sounds like a confinement dish, where these “heaty” ingredients are used to nurse a mother’s body back to good health.
We Fuzhou folks eat good stuff #justsaying
Having said that, I’ve come to believe that this Fuzhou tradition is only adhered by the Fuzhou community in Malaysia and Singapore. Remember the relatives that we unexpectedly found in China? WELL! They do not feel the same as we do about this tradition, because they have no such tradition! While the dish is not foreign to them, they do not particularly consume it during celebratory days.
Turns out, this love for red wine chicken mee suah is purely a Nanyang Chinese thing. I’m all right with that!
***
My Mum learned the recipe from my late grandmother, a legendary cook in our memories. I took it for granted that Fuzhou red wine chicken tastes like how my family makes it – rich, spicy and delicious. Then I found out that it wasn’t true! So I became invested in getting my Mum to commit her recipe to paper.
It wasn’t an easy process. People who are used to cooking have this measurement method – agak-agak. It means a guesstimate, an intuitive form of measuring that comes with frequent practice.
“How much sesame oil to put?”
“You see lor, agak-agak lah.”
“MAMA I CANNOT WRITE AGAK-AGAK IN THE INGREDIENTS, IT’S NOT QUANTIFIABLE!”
“Ok ok ok we take out and measure…”
Haha! I hope you appreciate our effort in documenting this recipe. I admit it was fun for us, a mother-daughter bonding time with many moments like this:
My Mum: What the heck are you doing?
Me: Measuring the ginger la.
My Mum: Where got people measure ginger with a plastic ruler??
Me: Got lah! Me lah!
My Mum: .. -_-”
Hahahahahaha I love my Mum!
***
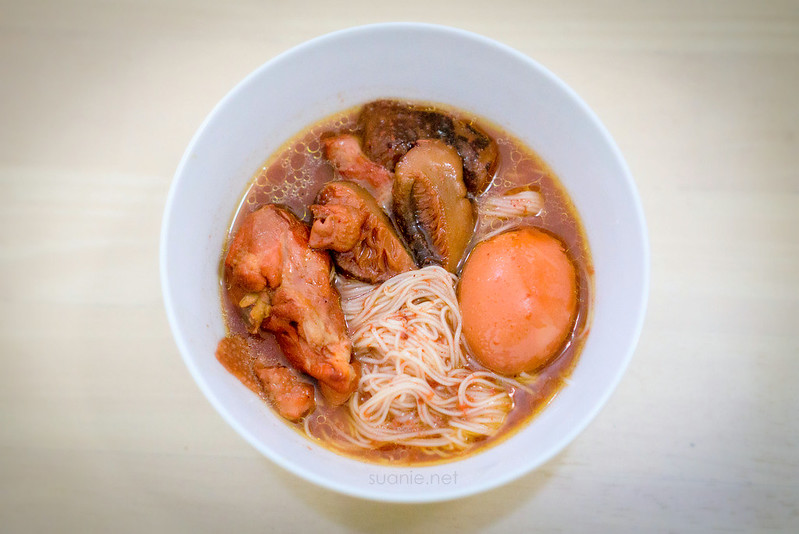
As is with most Chinese cuisine, the most exhausting part is gathering the ingredients. My family’s Fuzhou red wine chicken recipe calls for: chicken (duh), dried mushrooms, Bentong ginger, garlic, sesame oil, rice wine and rice wine lees.
My Mum is a bit atas – she’d only make this recipe using kampung/ village chicken, or free-range chicken. I have less standards for myself, I’m okay with using regular chicken, or loose pieces of chicken instead of one entire bird.
Personally I’m not fussed about the meat because I care more about the soup.
There’s the dried mushrooms which you have to soak and cut. The measurement below is just an indication, that was how much we use for this recipe. Because I’m a mushroom person. Use however much or little mushrooms you want.
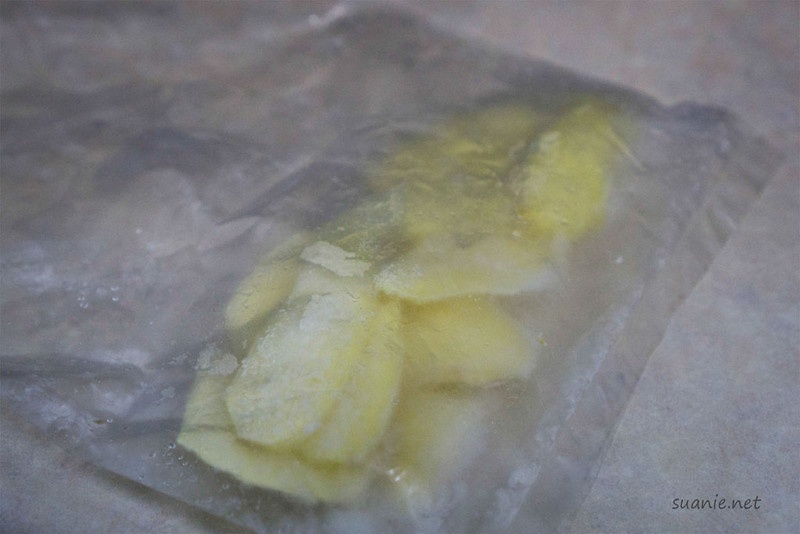
There’s the garlic cloves, peeled and smashed. There’s the ginger, use Bentong ginger if you can get it. It’s more expensive, but worth the extra moolah. For this recipe, we used approx 200g, or 32in. I know because I measured using a plastic ruler. YES IT IS A LOT OF GINGER!
It is not difficult to get red glutinous rice wine. If you know someone who knows someone (preferably Chinese), you’d be able to get it easily. Otherwise, just make a trip to Sitiawan and stock up.
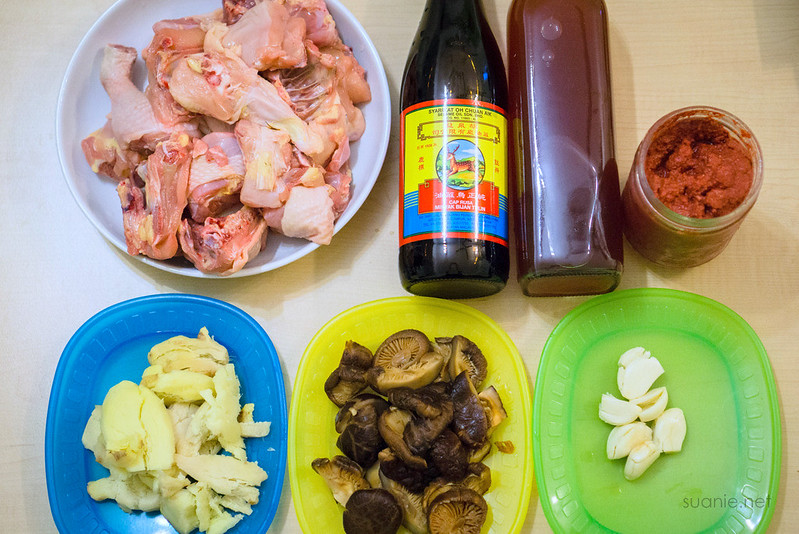
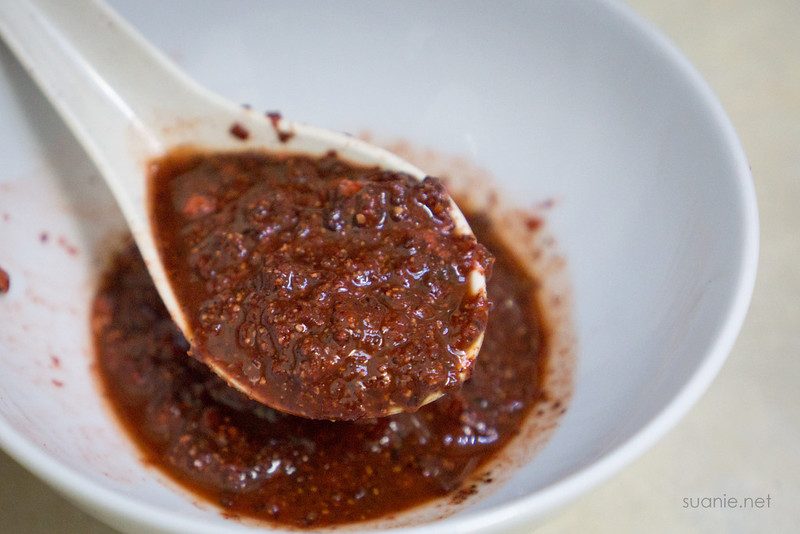
It’s the red wine lees that’s more difficult to get. Red wine lees is the residue, the ang zao from making red rice wine. If you know someone who knows someone who makes red rice wine, ask nicely and you might get it for free. You could buy it, but I don’t know where to get it.
Here, just to show you what it looks like: two batches of red wine lees, made by different people.
My family’s recipe uses a lot of this too, for a stronger taste. As we would say, more kick.
Once you have all the ingredients, it’s time to start cooking! Full recipe below.
***
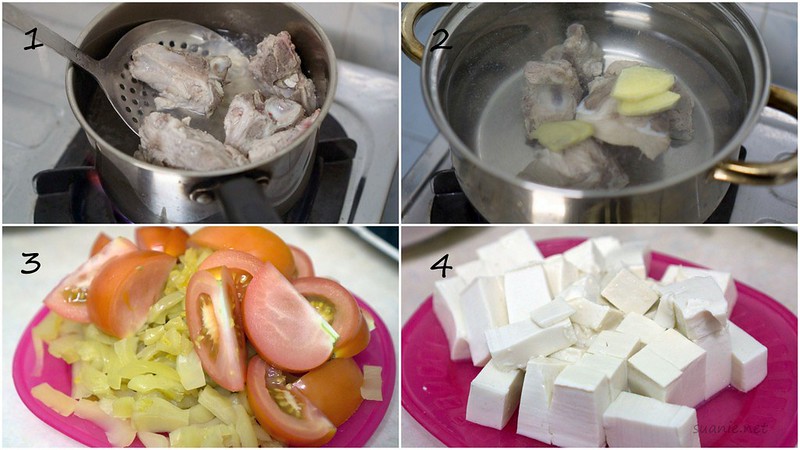
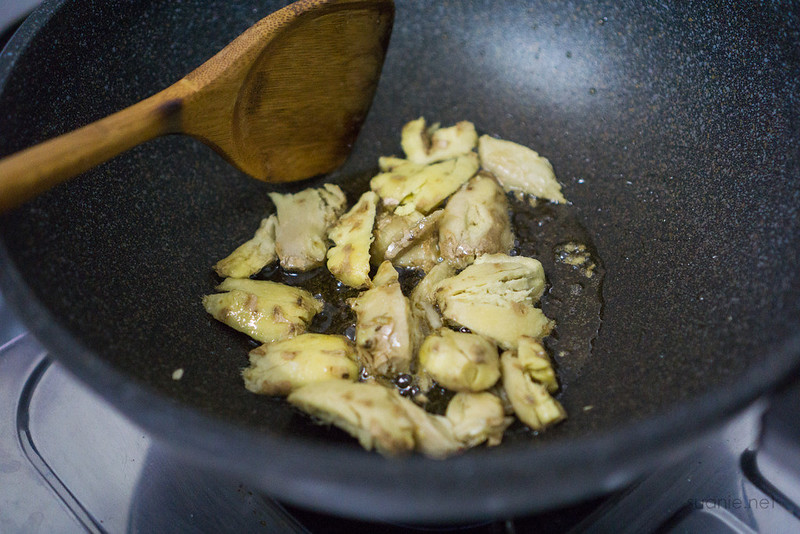
Heat sesame oil in wok. Add ginger, fry till fragrant. Add garlic and mushroom, fry for a couple of minutes.
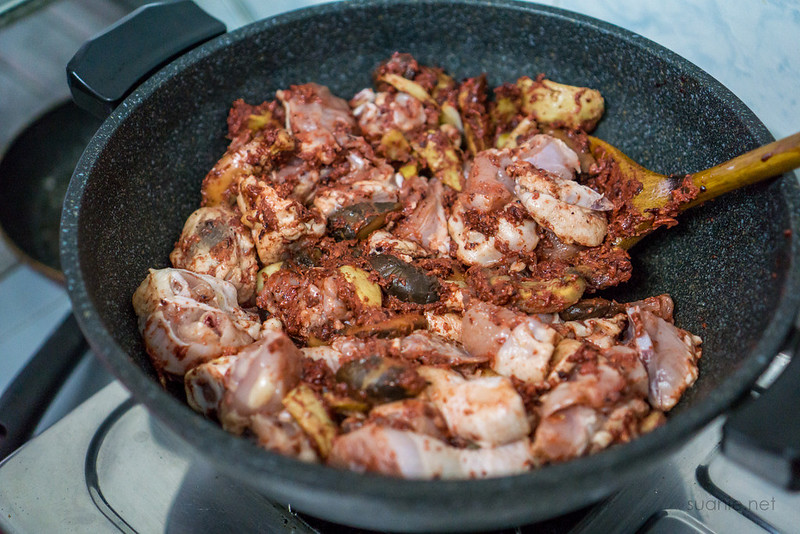
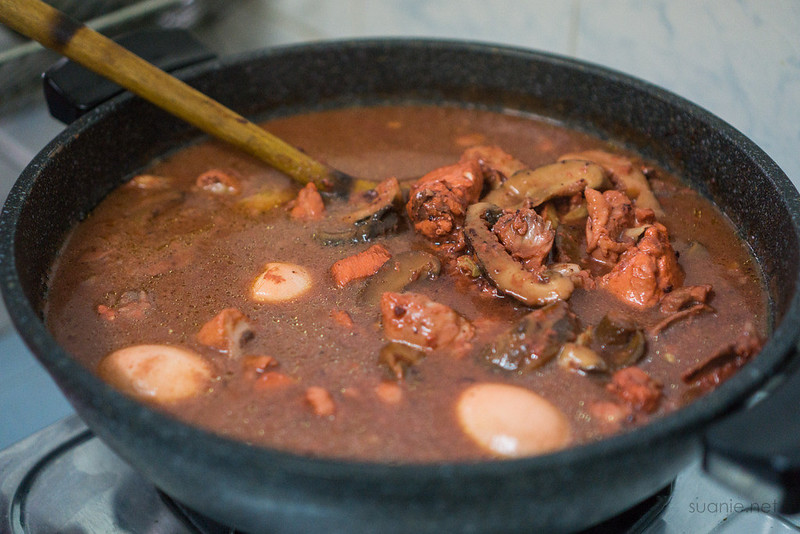
Put in red wine lees (ang zao), fry for a few minutes. Add in chicken pieces, coating each piece of chicken with lees. Let it rest in the wok, for the oil from the chicken to surface.
Add water, enough to cover the chicken in the wok. Let simmer for a few minutes, then on medium heat, cover the lid and let boil for 20 mins.
While waiting, boil eggs – one for each person. Peel the hard boiled eggs, put aside.
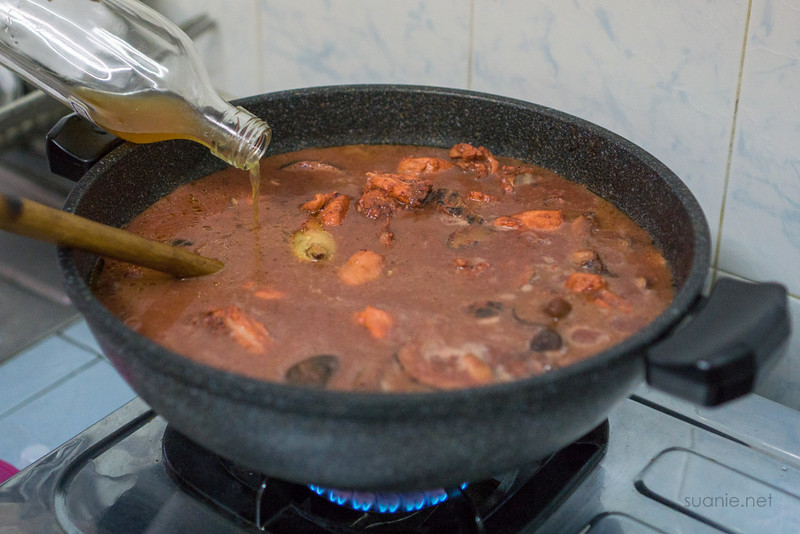
Add the rice wine and hard boiled eggs, let simmer for 15 mins, stirring the bottom occasionally so that things don’t get stuck at the bottom of the pot. After the 15 mins, switch off fire/heat.
At this point, you could serve the red wine chicken, yay! BUT WAIT! If you want a stronger tasting soup, do like how my Mum does it – cook this late at night, then leave it in the wok (covered) overnight. In the morning, reheat the soup and serve with noodles.
Resting it for a few hours is fine, but overnight is the BEST.
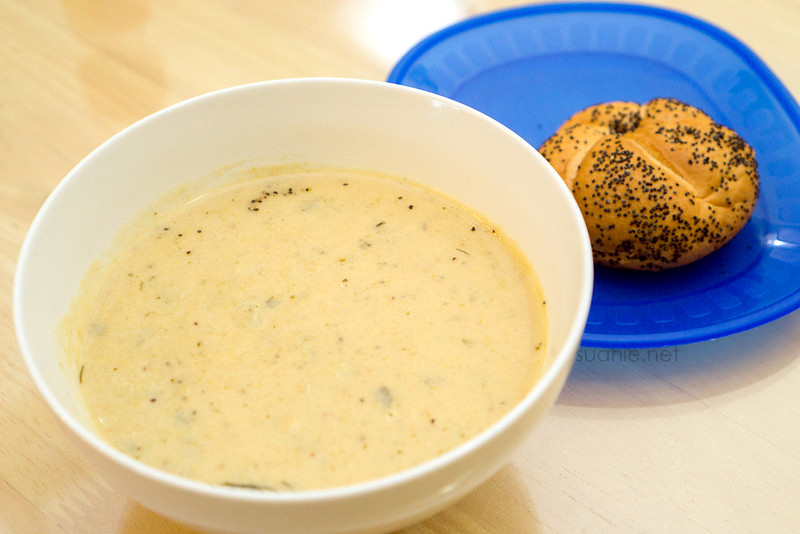
To serve, cook mee suah according to instructions on packet.
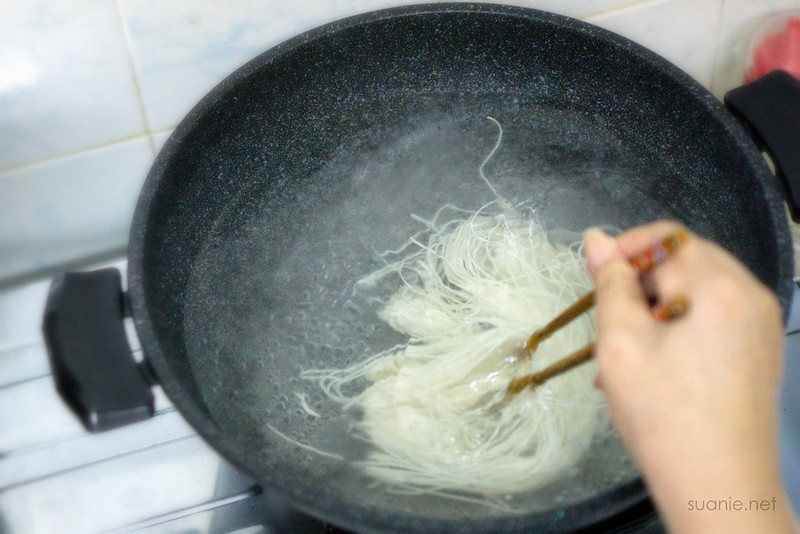
Add red wine chicken to the cooked mee suah and serve.
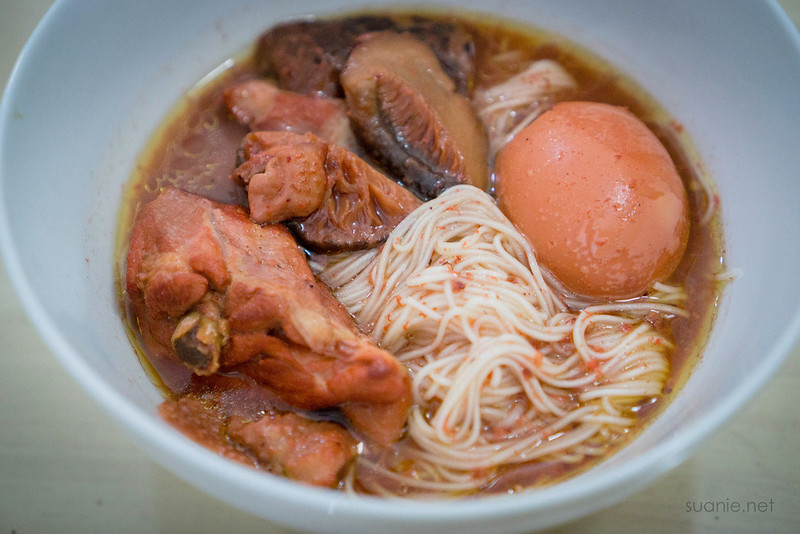
Bon appétit!
(Because I do not know how to say it in Fuzhou.)

| Servings |
6 - 8 people
|
- 1 whole chicken cut to small pieces
- 50ml sesame oil
- 800ml red glutinous rice wine
- 250g red wine lees (ang zao/ hong zao)
- 200g Bentong ginger peeled, sliced, crushed
- 200g dried mushrooms (soaked, and sliced or quartered)
- 6 cloves garlic bruised
- 1.5 litre water
- egg (one for each pax)
- mee suah (flour vermicelli)
Ingredients
|
|
- Heat sesame oil in wok. Add ginger, fry till fragrant.
- Add garlic and mushroom, fry for a few minutes.
- Add red wine lees (ang zao), fry for a few minutes.
- Put in chicken, coating each piece with lees. Let it rest in the wok, for the oil from the chicken to surface.
- Add water, enough to cover the chicken in the wok. Let simmer for a few minutes.
- On medium heat, cover the lid and let boil for 20 mins.
- While waiting, boil eggs - one for each person. Peel the hard boiled eggs, put aside.
- Add rice wine and hard boiled eggs. Let simmer for 15 mins, stirring the bottom occasionally. After this, switch off fire/heat.
- RECOMMENDED: Let the red wine chicken sit for a few hours for a stronger taste.
- To serve, cook mee suah according to instructions on packet. Add red wine chicken to the cooked mee suah and eat like there's no tomorrow.
This recipe serves quite a few people. If you’re #foreveralone, keep the portions you want to eat within the next couple of days in the fridge. Then freeze the rest… or do like I do, share it with friends. At any time, add water to the soup if it is too strong, which is usually the case when it’s kept in the fridge.
Selamat makan!